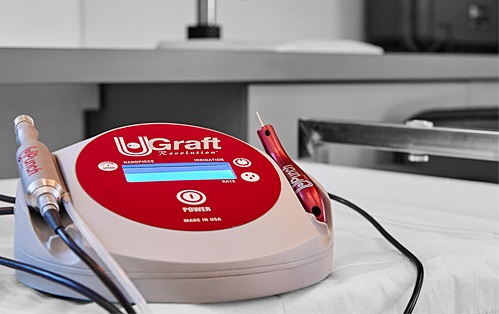
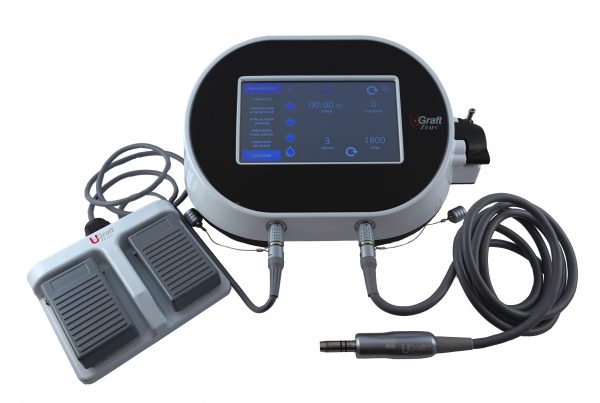
The Console intuitively guides the operator to the correct settings based on skin type.
The preset options are:
- Thin Scalp
- African Hair & Thick Scalp
- Typical Body & Beard
- Thick Body, Pubic & Back
- Long Hair or No Shave
- Custom Settings
Flushing the DrUGraft™ Punch System
As a rule of thumb, it is important to flush the Dr.UGraft™ system every time before operating it. Here are the basic steps to follow:
- Start by turning the power button on
- Flush the system with the right side pedal which is used to eject fluid through the punch.
Calibrating the Dr.UGraft™ Punch System
The purpose of calibrating the system is to adjust the temperature of the hand piece to the environment. Here are the steps for accomplishing this.
- Press the hand piece button on the top left side. You can press it multiple times until the calibration mode is displayed.
- Use the left foot pedal to operate the handpiece and activate the calibration. Gently tap it once and let go so that the hand piece starts to rotate.
- Notice the calibration bars increasing to 5 bars which signals the completion of the calibration process
How to Establish the Lowest Baseline Speed Setting For All Patients
Once the system has finished calibrating, as indicated by 5 bars, it will then automatically display a single bar, representing the lowest baseline rpm speed. This setting should be the starting point to use for all patients, all skin types and all donor areas.
Operate the Dr.UGraft™ Console – How to Find the Right Speed Settings For Individual Patients and the Donor Areas
First, start with the lowest speed setting which is indicated, again, by a single bar. Test this speed to see if it is appropriate for the patient’s skin type. You would do this by observing how the punch behaves and performs. If this speed is right for the patient, the punch will penetrate the skin at the appropriate depth. And it will be able to excise the graft with minimal effort.
This lowest speed setting will usually suffice for performing body hair extractions on all patients.
If the skin is too thick, the punch will have trouble penetrating the skin. This is a sign for you to increase the speed to the next higher setting. The second setting (i.e. two bars) is intended to penetrate skin that is slightly thicker and tougher. See if the punch is able to perform in an effortless manner. If not, move on to the third highest speed setting.
If the third speed level still does not work well for the patient, proceed to the the fourth speed. At this parameter, all skin is able to be penetrated, including patients with Afro-textured hair who also have extremely tough skin thickness.
Although the fourth speed is able to penetrate all skin types, it still may not be the right choice for all patients. At such a high speed, it may actually cause high rates of transection.

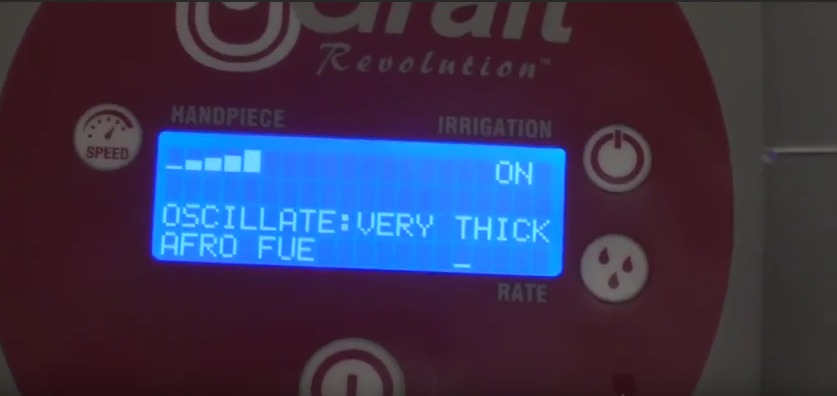
The oscillation mode of the Dr.UGraft system at level 5, for very thick skin typically found in patients of African descent
If the patient has very thick skin and you are noticing a lot of transection, proceed to the 5th speed setting which is the oscillation mode. This setting level is for the toughest skin types. Typically, the 5th setting is used for patients of African origin with tightly curled hair and very thick skin. It is capable of extracting grafts with minimal transection.
The fifth speed setting is not recommended for body hair extractions. Instead, use the first speed level, as noted earlier.
When and How to Adjust the Rotation Strength of the Dr.UGraft ™ Punch

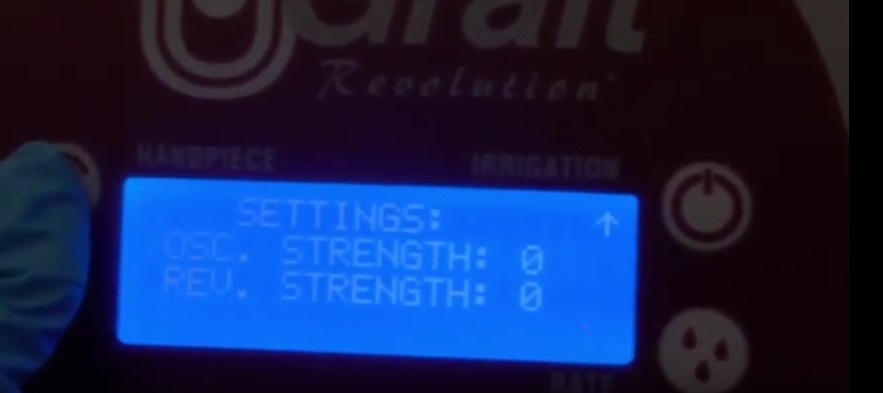
If the Dr.UGraft punch cannot rotate well, the rotational strength settings (i.e. torque) will need to be adjusted. The display monitor will show parameters, such as what is depicted here.
When trying to determine the right punch speed to operate the Dr.UGraft ™ console, you would need to pay attention to how well the device penetrates the skin.
However, the punch may experience difficulty rotating. And it will start to stutter. This means that you would need to consider adjusting the rotational strength of the instrument.
Simply press the speed button on the left side for 2-3 seconds. This will cause the strength settings to appear on the console monitor.
You have the option to adjust the strength for either the Revolution or oscillating modes. Press the speed button to switch between the two.
Once you have selected the correct mode, use the buttons on the right next to the arrow to increase or decrease the strength value, which ranges from zero to 30.
To exit the strength settings mode, press and hold the speed button for 2-3 seconds again.
What’s Next
Learn how to break down the Dr.UGraft ™ system after a hair transplant procedure
Read the complete online instructions for the Dr.UGraft™ system here.


